
305 UNDERGROUND CONSTRUCTION · FIELD GUIDE
A construction site walk should turn an idea into a buildable scope.
This guide shows Florida homeowners and property owners what to prepare, what a contractor should inspect, what questions need answers on-site, and what a professional next step should look like after the walk.

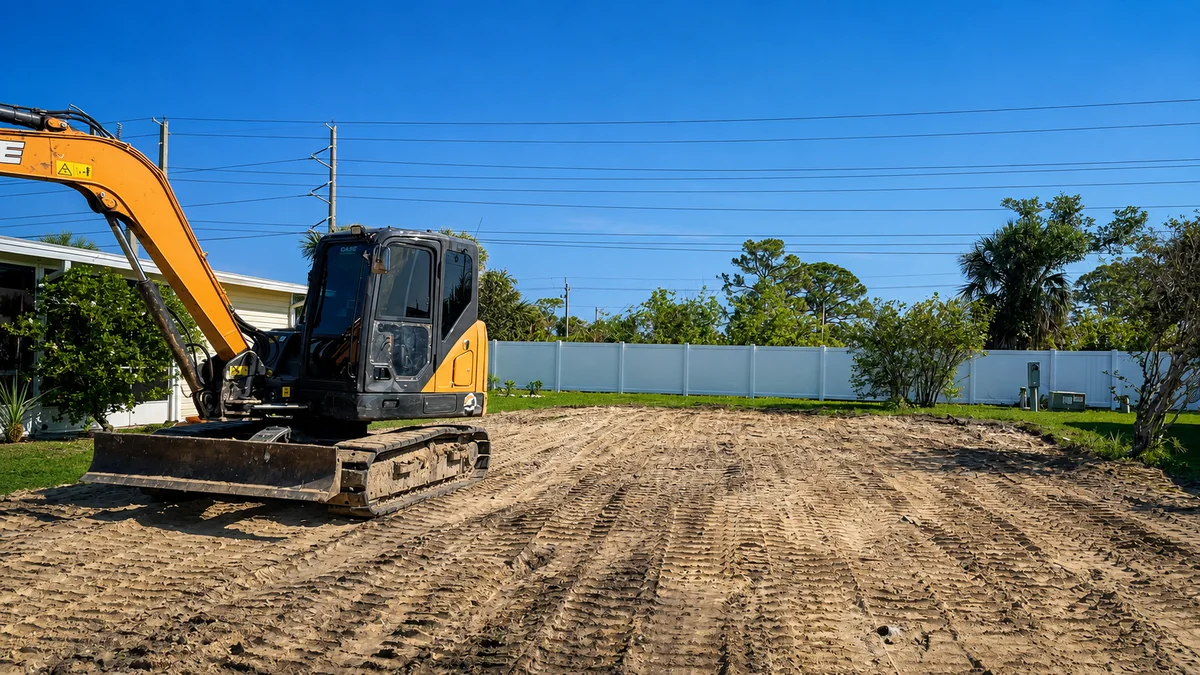

A site walk connects existing conditions to the finished project-from access and drainage to structural tie-ins, utilities, roofing and interior work.
The executive summary
Have the address, project goal, survey or plans if available, recent photos, known utilities, drainage concerns, access constraints and target timing ready before the visit. During the walk, the contractor should identify the major unknowns, the likely sequence of work, what must be protected, and what information is still required before a dependable scope can be priced.
- Define the outcome: what the property needs to become, not just the isolated task.
- Expose constraints: access, water, utilities, structures, neighbors and existing finishes.
- Reduce assumptions: separate known scope from allowances and unknown conditions.
- Plan the handoff: understand what happens before this phase and immediately after it.
What this site walk should accomplish
A high-quality site walk is not a sales ritual. It is a field-information session. By the end, both homeowner and contractor should have a clearer picture of the physical property, project boundaries, risks, required trades, and next decisions.
Before the visit
Project goal, survey, photos, utilities, drainage history, access and timing.
During the walk
Access, protection, water, structure, utilities, sequencing, unknowns and handoffs.
After the walk
Clear inclusions, exclusions, missing information, next decisions and proposal scope.
BEFORE THE CONTRACTOR ARRIVES
Bring these eight things
You do not need a complete design package to have a productive first visit. You do need enough information to prevent the contractor from guessing about the property and your goals.
01 · Property address
Include the exact jobsite and the best gate, driveway or access point.
02 · Project objective
Describe the result you want: addition, remodel, drainage correction, clearing, demolition, paving or new construction.
03 · Survey or plans
Bring surveys, sketches, architectural plans or engineering documents if they already exist.
04 · Current photos
Wide shots show context. Close-ups document damage, cracks, utilities, drainage and finish conditions.
05 · Known utilities
Identify septic, wells, irrigation, electrical, sewer, water, gas and communication lines you know about.
06 · Drainage history
Share where water ponds, erodes soil, crosses pavement or approaches the structure after rain.
07 · Access constraints
Point out narrow gates, low wires, pools, fences, soft shoulders, occupied areas or neighbor restrictions.
08 · Timing & priorities
Explain deadlines, phases, budget priorities and decisions that have already been made.
Describe the finished outcome, not just the first task. “Clear the rear lot for a future addition” is more useful than “remove some trees.” “Rebuild the driveway because runoff keeps washing out the edge” is more useful than “repave the driveway.”
FIELD CONDITION 01
Access, staging and equipment can change the entire plan
A contractor should look at how people, machinery, dumpsters, dump trailers, material deliveries and concrete trucks will reach the work. A backyard may have plenty of space for the finished addition but no easy equipment path.
- Gate and side-yard width
- Overhead wires, tree canopy and roof overhangs
- Driveway, sidewalk and landscape areas that must be protected
- Soft shoulders, septic systems and buried utilities
- Truck turning radius and material staging
- Occupied-home access and safe separation from the work zone
305 Field Note: A quote that ignores access is not complete. The same excavation can be a straightforward machine job on one property and a much more labor-intensive operation on a tight residential lot.
FIELD CONDITION 02
Water movement should be documented before the site changes
If drainage is part of the project-or if the project will change grade, paving, roofing or impervious area-bring photos and video from a rain event. Show where water enters the property, where it slows down, where it ponds and where it leaves.
Look for downspouts discharging beside the home, eroded pavement edges, low areas, saturated soil, water moving toward a planned addition and any outlet that appears blocked or undersized.
Use our Florida stormwater drainage guide to document the water path before the visit.
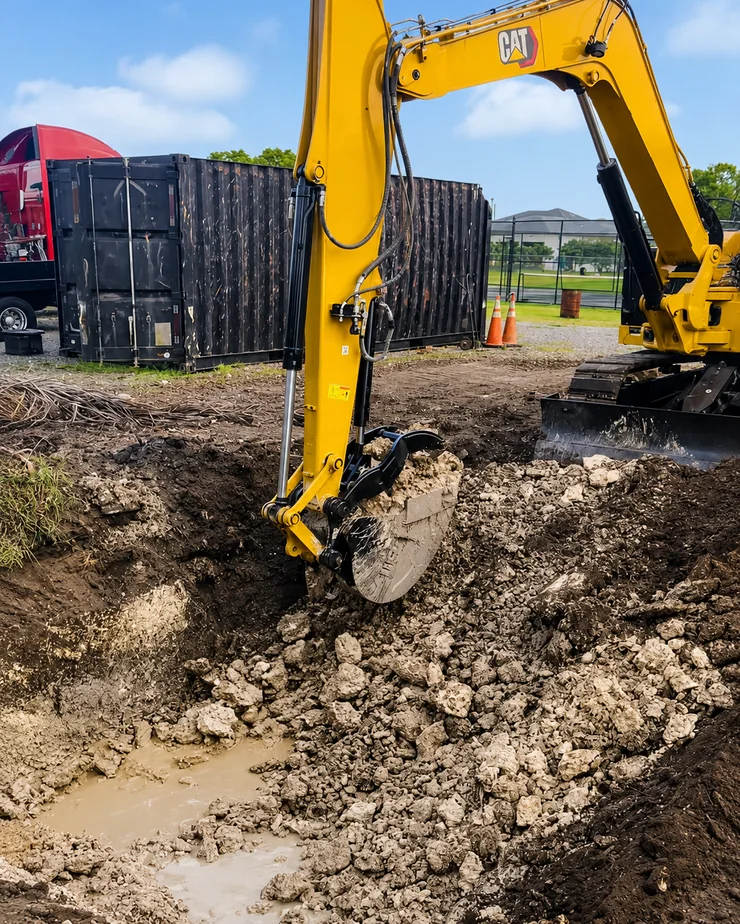
305 Field Note: “Move the water away from this spot” is not enough. A drainage plan should identify both the collection point and a legal, practical place for that water to go.
FIELD CONDITION 03
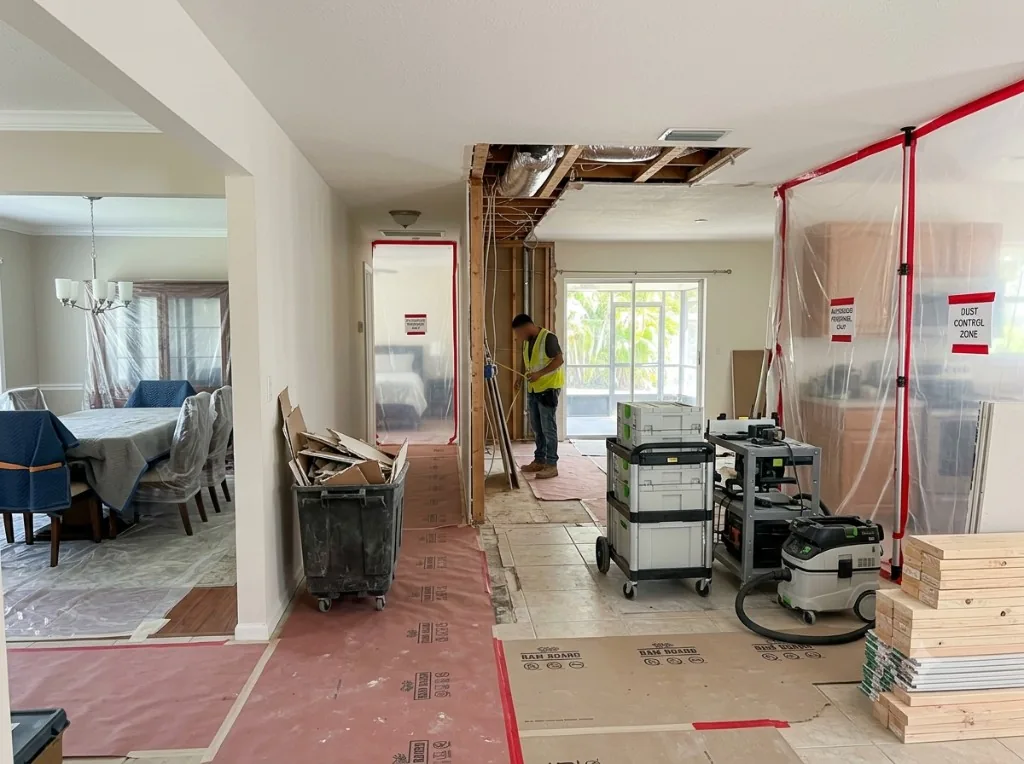
Existing structure and utilities determine how new work connects
For additions and remodeling, the walk should identify where the new work meets the old work. That includes walls, roof geometry, slab elevation, plumbing routes, electrical capacity, HVAC, windows and doors, exterior finishes, waterproofing and drainage around the future footprint.
- Which walls may be structural or load-bearing?
- How will the addition roof tie into the existing roof?
- Is there enough electrical and HVAC capacity?
- Where can plumbing connect?
- Will finished-floor elevation or drainage need to change?
- Which existing finishes must be protected or restored?
See our Florida room addition project for a real sequence from excavation and foundation through framing, openings, rough-ins and finished space.
SCOPE CHANGES BY PROJECT
What a contractor should be looking for
| Project type | Critical site-walk questions | Typical next-phase handoff |
|---|---|---|
| Land clearing | What stays? What gets removed? Are stumps, roots, haul-off and rough grade included? How will equipment enter? | Accessible lot with clearing limits established for excavation or construction. |
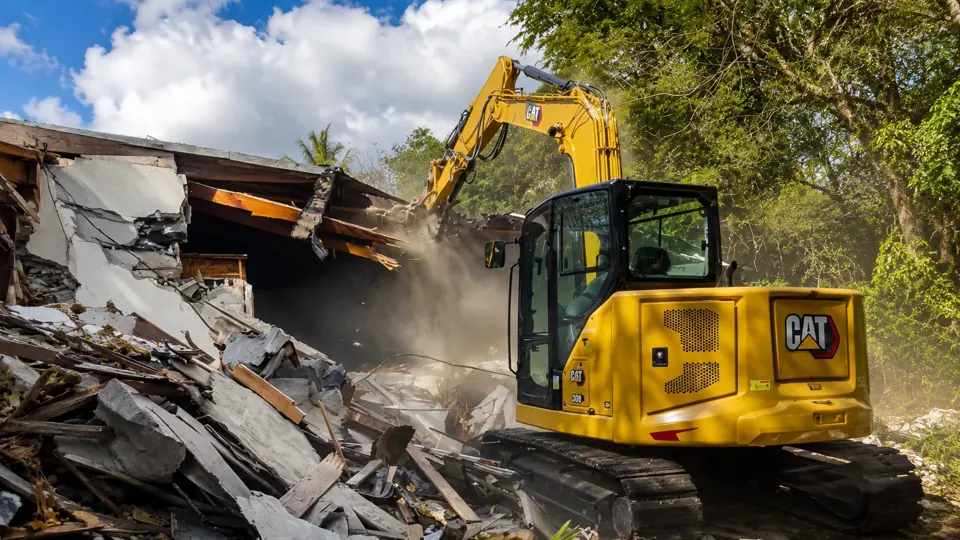
| Demolition | What is removed? What remains protected? How are utilities, debris, slabs, pools and regulated materials handled? | Defined site-ready condition for grading, excavation or rebuild. |
| Excavation & drainage | Where are utilities? Where does water go? What are the cut/fill needs? Can trucks and equipment safely work? | Stable grades, trenches or building areas ready for the next trade. |
| Room addition | Setbacks, structure, foundation, roof tie-in, utilities, drainage, openings and occupied-home protection. | Buildable scope that coordinates site work and vertical construction. |
| Roofing | Material, deck condition, flashing, penetrations, access, debris staging, addition tie-ins and water management. | Roofing scope with tear-off, dry-in, repairs and finish details defined. |
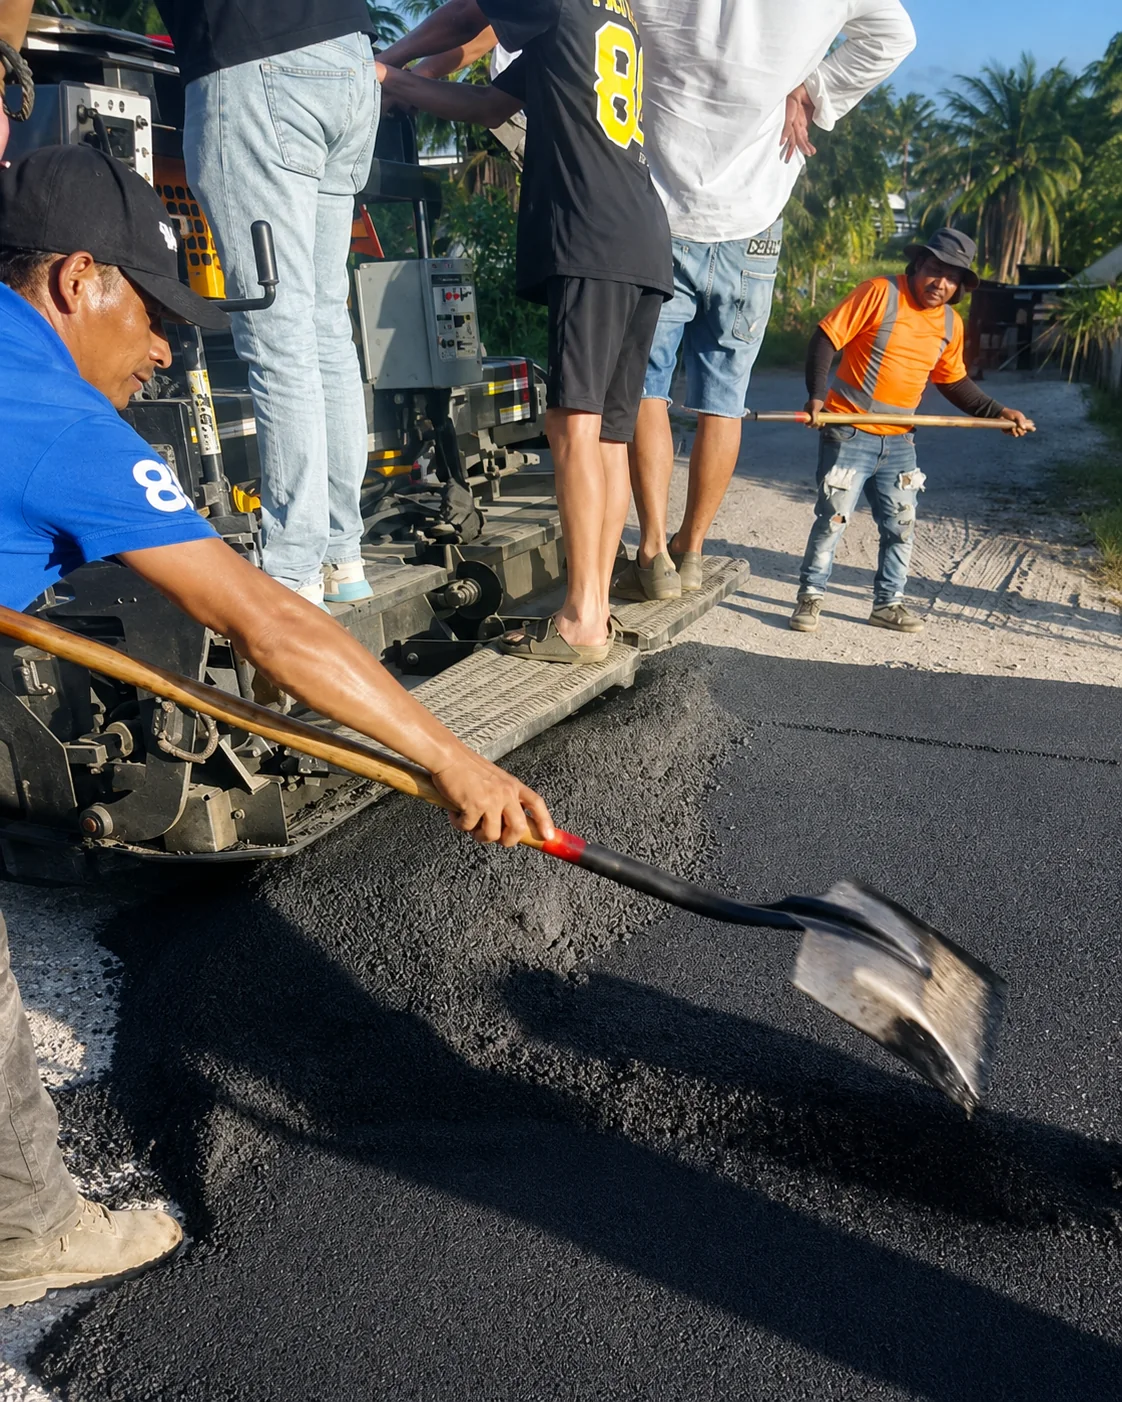
| Driveway / paving | Surface wear or base failure? Where does water go? What transitions, utilities and edge conditions affect the rebuild? | Repair, overlay or full-reconstruction scope based on actual failure mode. |
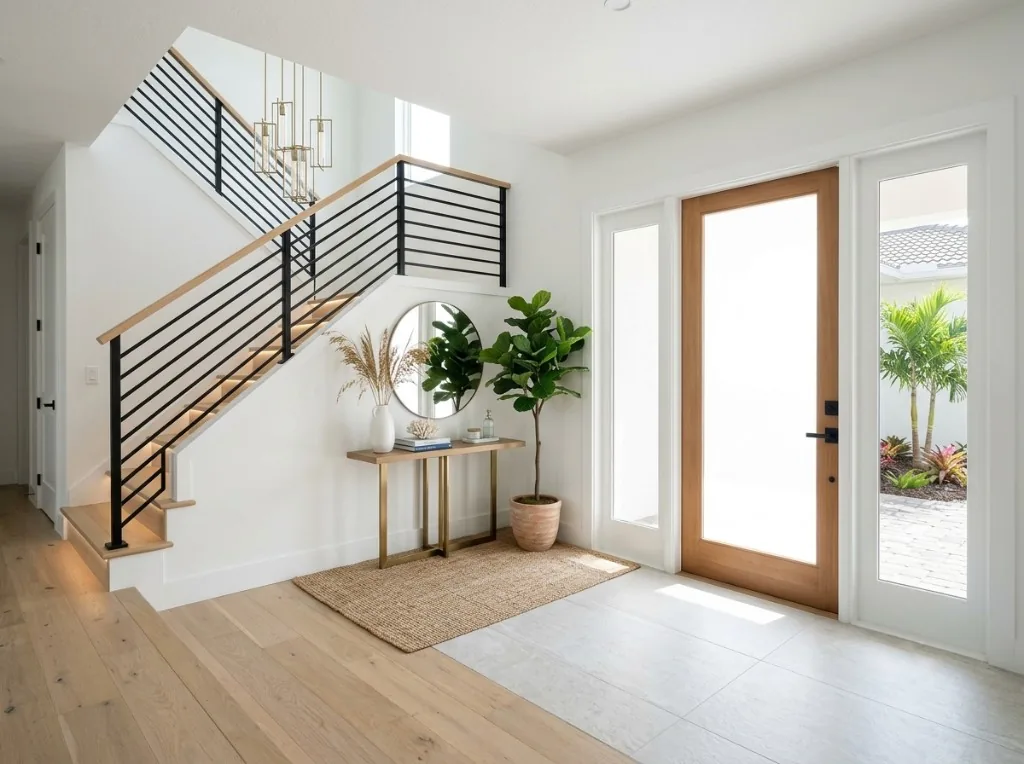
| Kitchen / bath remodel | Layout, plumbing, electrical, ventilation, existing finishes, structural changes and occupied-home protection. | Demolition and finish scope with selections and rough-in changes identified. |
| New construction | Survey, clearing, access, drainage, cut/fill, utilities, compaction, foundation handoff and construction staging. | Coordinated site-prep plan supporting the full build sequence. |
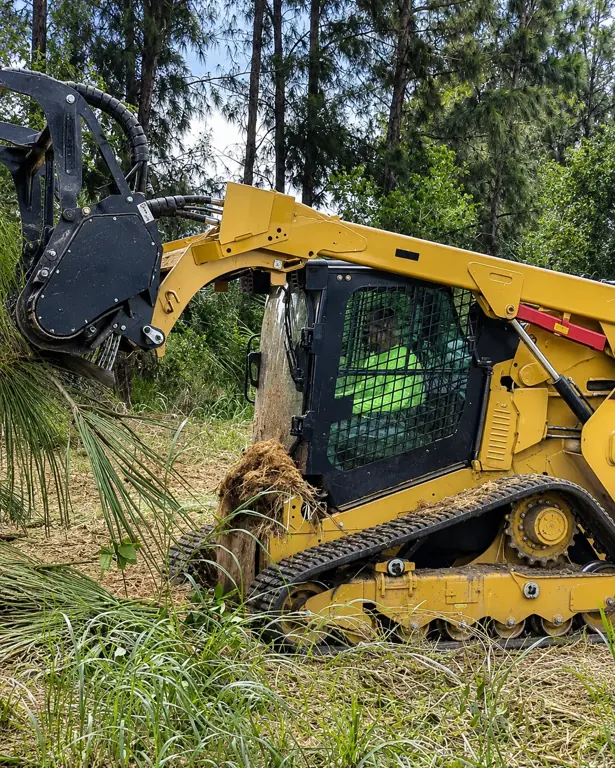


DECISION QUALITY
Ten questions the site walk should answer
If the visit ends without answers to these questions-or a clear plan for obtaining them-the project is still operating on assumptions.
- What is the actual project boundary?
- What existing conditions could materially change the scope?
- What must remain protected during construction?
- How will workers, equipment and materials reach the work area?
- Which utilities, drainage paths or easements affect the project?
- What permits, plans, surveys or engineering are still needed?
- What work must happen before this phase begins?
- What condition must be delivered to the next trade?
- Which items are fixed scope, allowances or true unknowns?
- What owner decisions could delay pricing, permitting or construction?
What to photograph before the walk
Photos are not a substitute for an on-site inspection, but they improve the quality of the first conversation and preserve conditions that may disappear before the contractor arrives.
Wide context
Photograph the whole work area from multiple directions.
Access route
Show gates, side yards, driveways, overhead lines and truck approach.
Problem details
Close-ups of cracking, rot, leaks, settlement, damage or failing finishes.
During rain
Capture ponding, erosion, runoff and saturated areas while they are visible.
Utilities
Panels, meters, cleanouts, septic lids, condensers and visible service routes.
Tie-in areas
Walls, rooflines, slabs and openings where new work will meet the existing home.
AFTER THE VISIT
A professional site walk should produce a clearer project-not just a number
01 · Scope definition
What is included, excluded and still unknown should be written down.
02 · Missing information
Identify surveys, engineering, selections, utility information or permits still needed.
03 · Sequence
Clarify demolition, site work, structural work, rough-ins, finishes and handoffs.
04 · Proposal
The quote should reflect the actual site, not a generic price attached to a project label.
Watch for vague scopes. “Remodel bathroom,” “clear lot,” “replace driveway,” or “build addition” are project names-not complete scopes. A strong proposal makes the work, assumptions, exclusions, allowances, permit responsibilities, restoration and next-phase handoff understandable.
Florida construction site walk FAQ
Do I need architectural plans before requesting a site walk?
No. Plans are useful when they exist, but an early site walk can help identify whether design, engineering, surveying or additional field information is needed before the project can be priced accurately.
Should I get multiple quotes before or after the site walk?
Each contractor should inspect the same property conditions and receive the same basic project information. Comparing proposals is much more useful when all bidders are pricing the same intended outcome.
What if the contractor cannot see the drainage problem during the visit?
Bring rain-event photos and video. Standing water and runoff can disappear within hours, so documentation from the actual condition is often more informative than a dry-day inspection alone.
Should I point out previous repairs or known problems?
Yes. Prior leaks, termite treatment, structural repair, underground work, septic changes, flooding, electrical upgrades and previous unpermitted work can all affect the next scope.
Can one site walk cover multiple services?
Often, yes. That is particularly useful when the project connects site work and vertical construction-for example demolition followed by excavation, drainage followed by paving, or excavation and foundation work followed by a room addition.
What should I receive after the walk?
At minimum, you should have a clearer understanding of scope, missing information, major assumptions and what the next decision or document needs to be before work can move forward.
Continue planning with 305
Drainage field guide
Document runoff, ponding, grade and outlet problems before site conditions change.
305 project library
See completed and active work across site preparation, remodeling, roofing, paving and additions.
Construction guides
Use the guide library to prepare stronger scopes and make better project decisions.
Bring the property. We’ll help define the next phase.
Send the jobsite address, a short description of the outcome you want, and a few photos. 305 Underground Construction can review site work, drainage, demolition, excavation, roofing, additions, remodeling and new construction as connected parts of the property.